Sometimes you need to provide access to the script that runs on the Azure VM but don’t want to store credentials anywhere in the VM. The best choice is to assign a Managed Identity to the VM and provide this identity access to a resource.
System-assigned Managed Identity is the easiest way to provide access for VM to any Azure resource.
❗️❗️The Managed Identity Assigning doesn’t reboot or interrupt VM. ❗️❗️
Enabling Managed Identity via Azure portal.
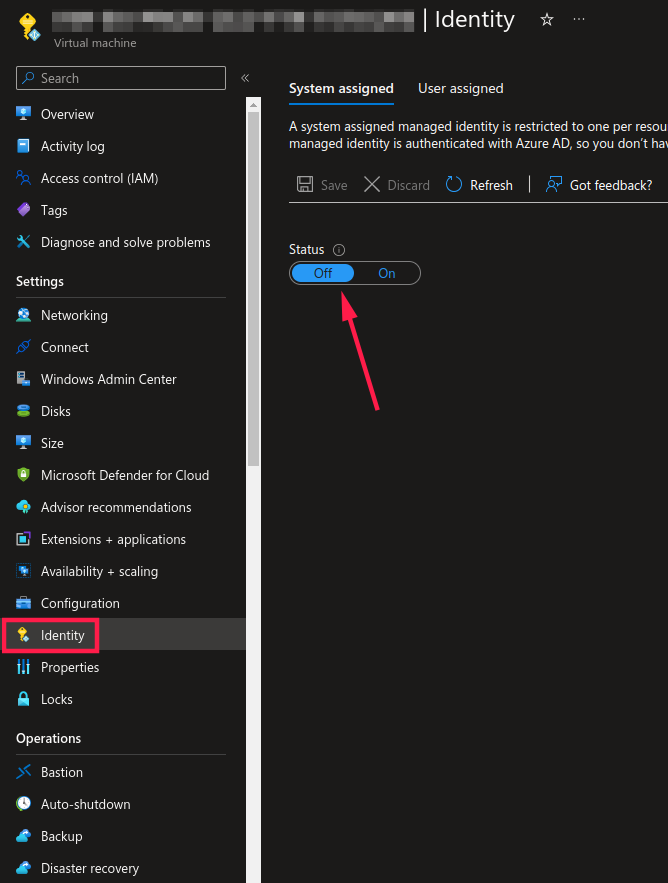
In the Azure portal, open VM and click on Identity. Then switch Status to On.
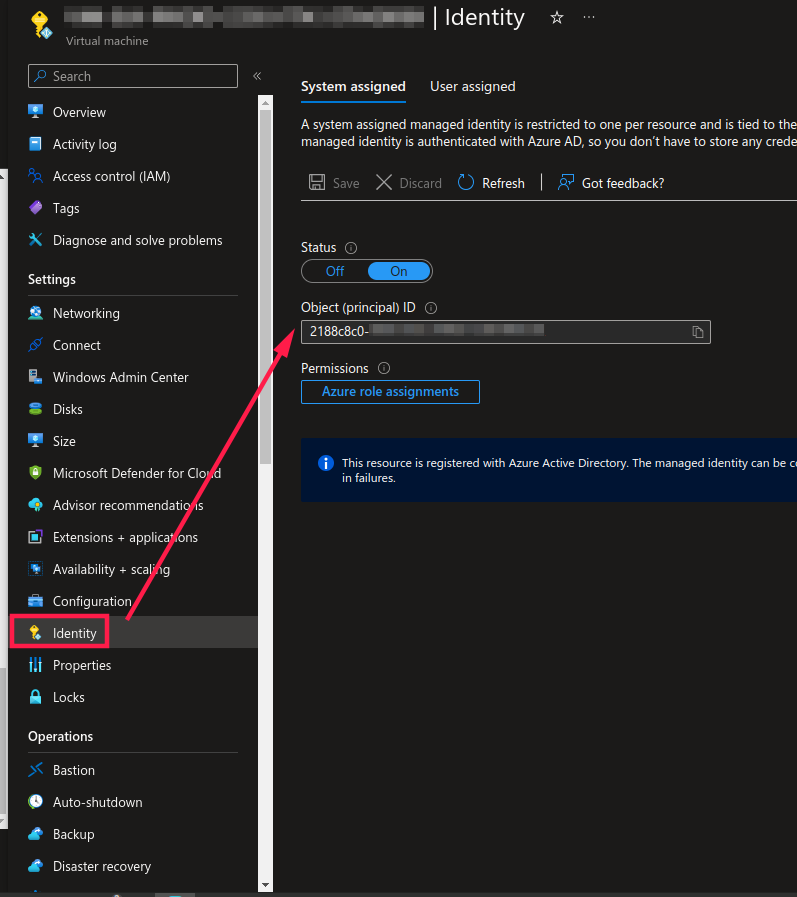
After the operation is complete, you will see a ID assigned to this VM. Copy it . This ID will be needed in the last PowerShell command.
Enabling Managed Identity via PowerShell.
You can enable Identity in the PowerShell as well. Moreover, you can swiftly enable it for multiple VMs using filters for Get-AzVM cmdlet.
For example, for one VM:
Get-AzVM -Name <VM_name> -ResourceGroupName <ResourceGroupName> | Update-AzVM -IdentityType SystemAssignedFor example, for All VMs:
Get-AzVM | ForEach-Object {
 if ($_.Identity.PrincipalId.Length -eq 0) {
  Update-AzVM -VM $_ -IdentityType SystemAssigned -ResourceGroupName $_.ResourceGroupName
 }
}
If the command was run successfully, you will see the output:

Adding the VM’s identity to a group
Now, add the VM’s service principle to any Azure AD group or provide access to resources. To do this, open a group that you want to add VM’s service principal in Microsoft Entra and copy the group ID.
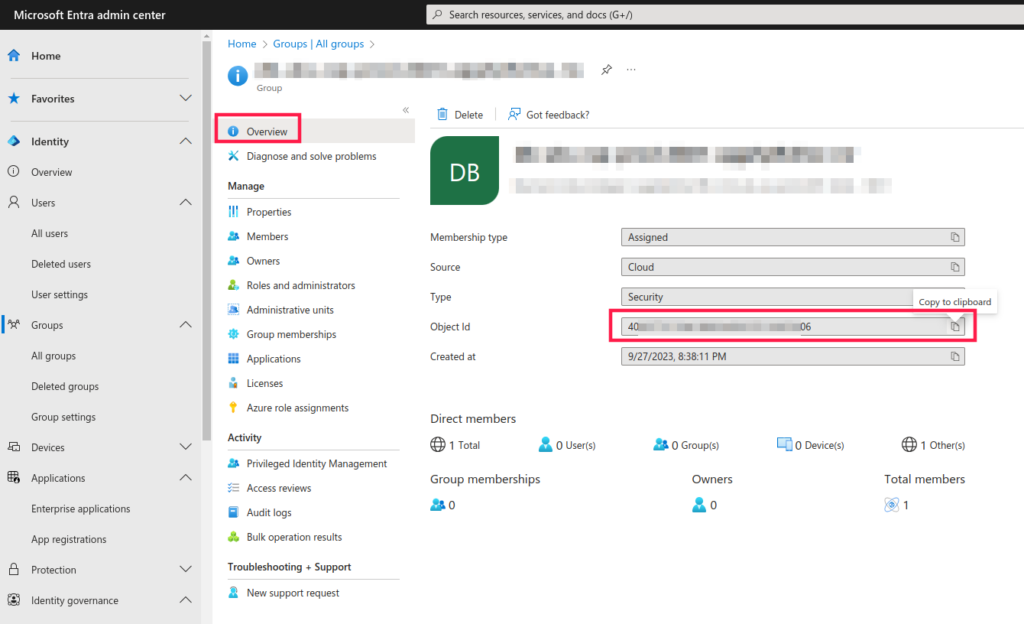
Run the command with both IDs you copied early and VM appears in the Microsoft Entra group.
az ad group member add --group <group_id> --member-id <vm_service_principle_id>After executing this command your VM appears in the group.
👇👇👇
💬Discuss or ask a question in the Telegram💬
📕Читать эту же статью на русском 👉 https://dzen.ru/media/samsitblog/kak-vkliuchit-system-identity-dlia-virtualnoi-mashiny-azure-64e73f0abccc2134c3b97a5f